
Sentry 监控
Sentry 介绍
作为一个软件工程,我们要了解项目在实际生产环境中的表现,而监控是一个非常重要的环节。sentry 是一个非常好的监控工具,它可以帮助我们快速的发现问题,并且可以帮助我们快速的定位代码位置解决问题。sentry不仅能处理前端页面项目还可以处理后端项目,java、.net、python、php都是支持的。
Sentry 安装
安装方式有两种:
- 1、使用 docker 安装 hub.docker文档
# 默认已经安装 docker
# 启动一个Redis容器
docker run -d --name sentry-redis redis
# 启动一个PostgreSQL容器
docker run -d --name sentry-postgres -e POSTGRES_PASSWORD=secret -e POSTGRES_USER=sentry postgres
# 生成一个新的密钥供所有人共享 sentry 容器。该值将被用作SENTRY_SECRET_KEY环境变量
docker run --rm sentry config generate-secret-key
# ==> w8p)heqo0=wkoizlrn3e@^w19804_h=vd=2g69@fqica%2enc+

docker pull getsentry/sentry:latest
# 设置变量 /srv/sentry
export SENTRY_HOME= /srv/sentry
# 初次启动容器
docker run -it --rm -e SENTRY_SECRET_KEY='w8p)heqo0=wkoizlrn3e@^w19804_h=vd=2g69@fqica%2enc+' --link sentry-postgres:postgres --link sentry-redis:redis sentry upgrade
# 启动容器
docker run -d --name my-sentry -p 9000:9000 -v $SENTRY_HOME/data:/var/lib/sentry/files -e SENTRY_SECRET_KEY='w8p)heqo0=wkoizlrn3e@^w19804_h=vd=2g69@fqica%2enc+' --link sentry-redis:redis --link sentry-postgres:postgres sentry
#默认配置需要 celerybeat 和 celeryworkers,根据需要启动尽可能多的worker
docker run -d --name sentry-cron -e SENTRY_SECRET_KEY='w8p)heqo0=wkoizlrn3e@^w19804_h=vd=2g69@fqica%2enc+' --link sentry-postgres:postgres --link sentry-redis:redis sentry run cron
docker run -d --name sentry-worker-1 -e SENTRY_SECRET_KEY='w8p)heqo0=wkoizlrn3e@^w19804_h=vd=2g69@fqica%2enc+' --link sentry-postgres:postgres --link sentry-redis:redis sentry run worker

# 默认全部配置设置 就不用设置 sentry-cron 和 sentry-worker-1 了
docker run --name sentry_c -p 9000:9000  -v $SENTRY_HOME/config:/etc/sentry  -v $SENTRY_HOME/logs:/var/log/sentry -v $SENTRY_HOME/data:/var/lib/sentry/files  -e SENTRY_SECRET_KEY=  -e SENTRY_POSTGRES_HOST=sentry-postgres -e SENTRY_POSTGRES_PASSWORD=secret -e SENTRY_POSTGRES_USER=sentry -e SENTRY_REDIS_HOST=sentry-redis -e SENTRY_REDIS_PASSWORD=secret --link sentry-redis:redis --link sentry-postgres:postgres  -d getsentry/sentry:latest
# 查看容器日志
docker logs sentry
# 进入容器
docker exec -it sentry /bin/bash
- 2、使用源码安装
# 安装 Git
sudo apt-get install git
# 克隆项目代码  第一个是旧仓库,第二个是新仓库
git clone  https://github.com/getsentry/onpremise.git
git clone  https://github.com/getsentry/self-hosted.git
前端设置
React项目 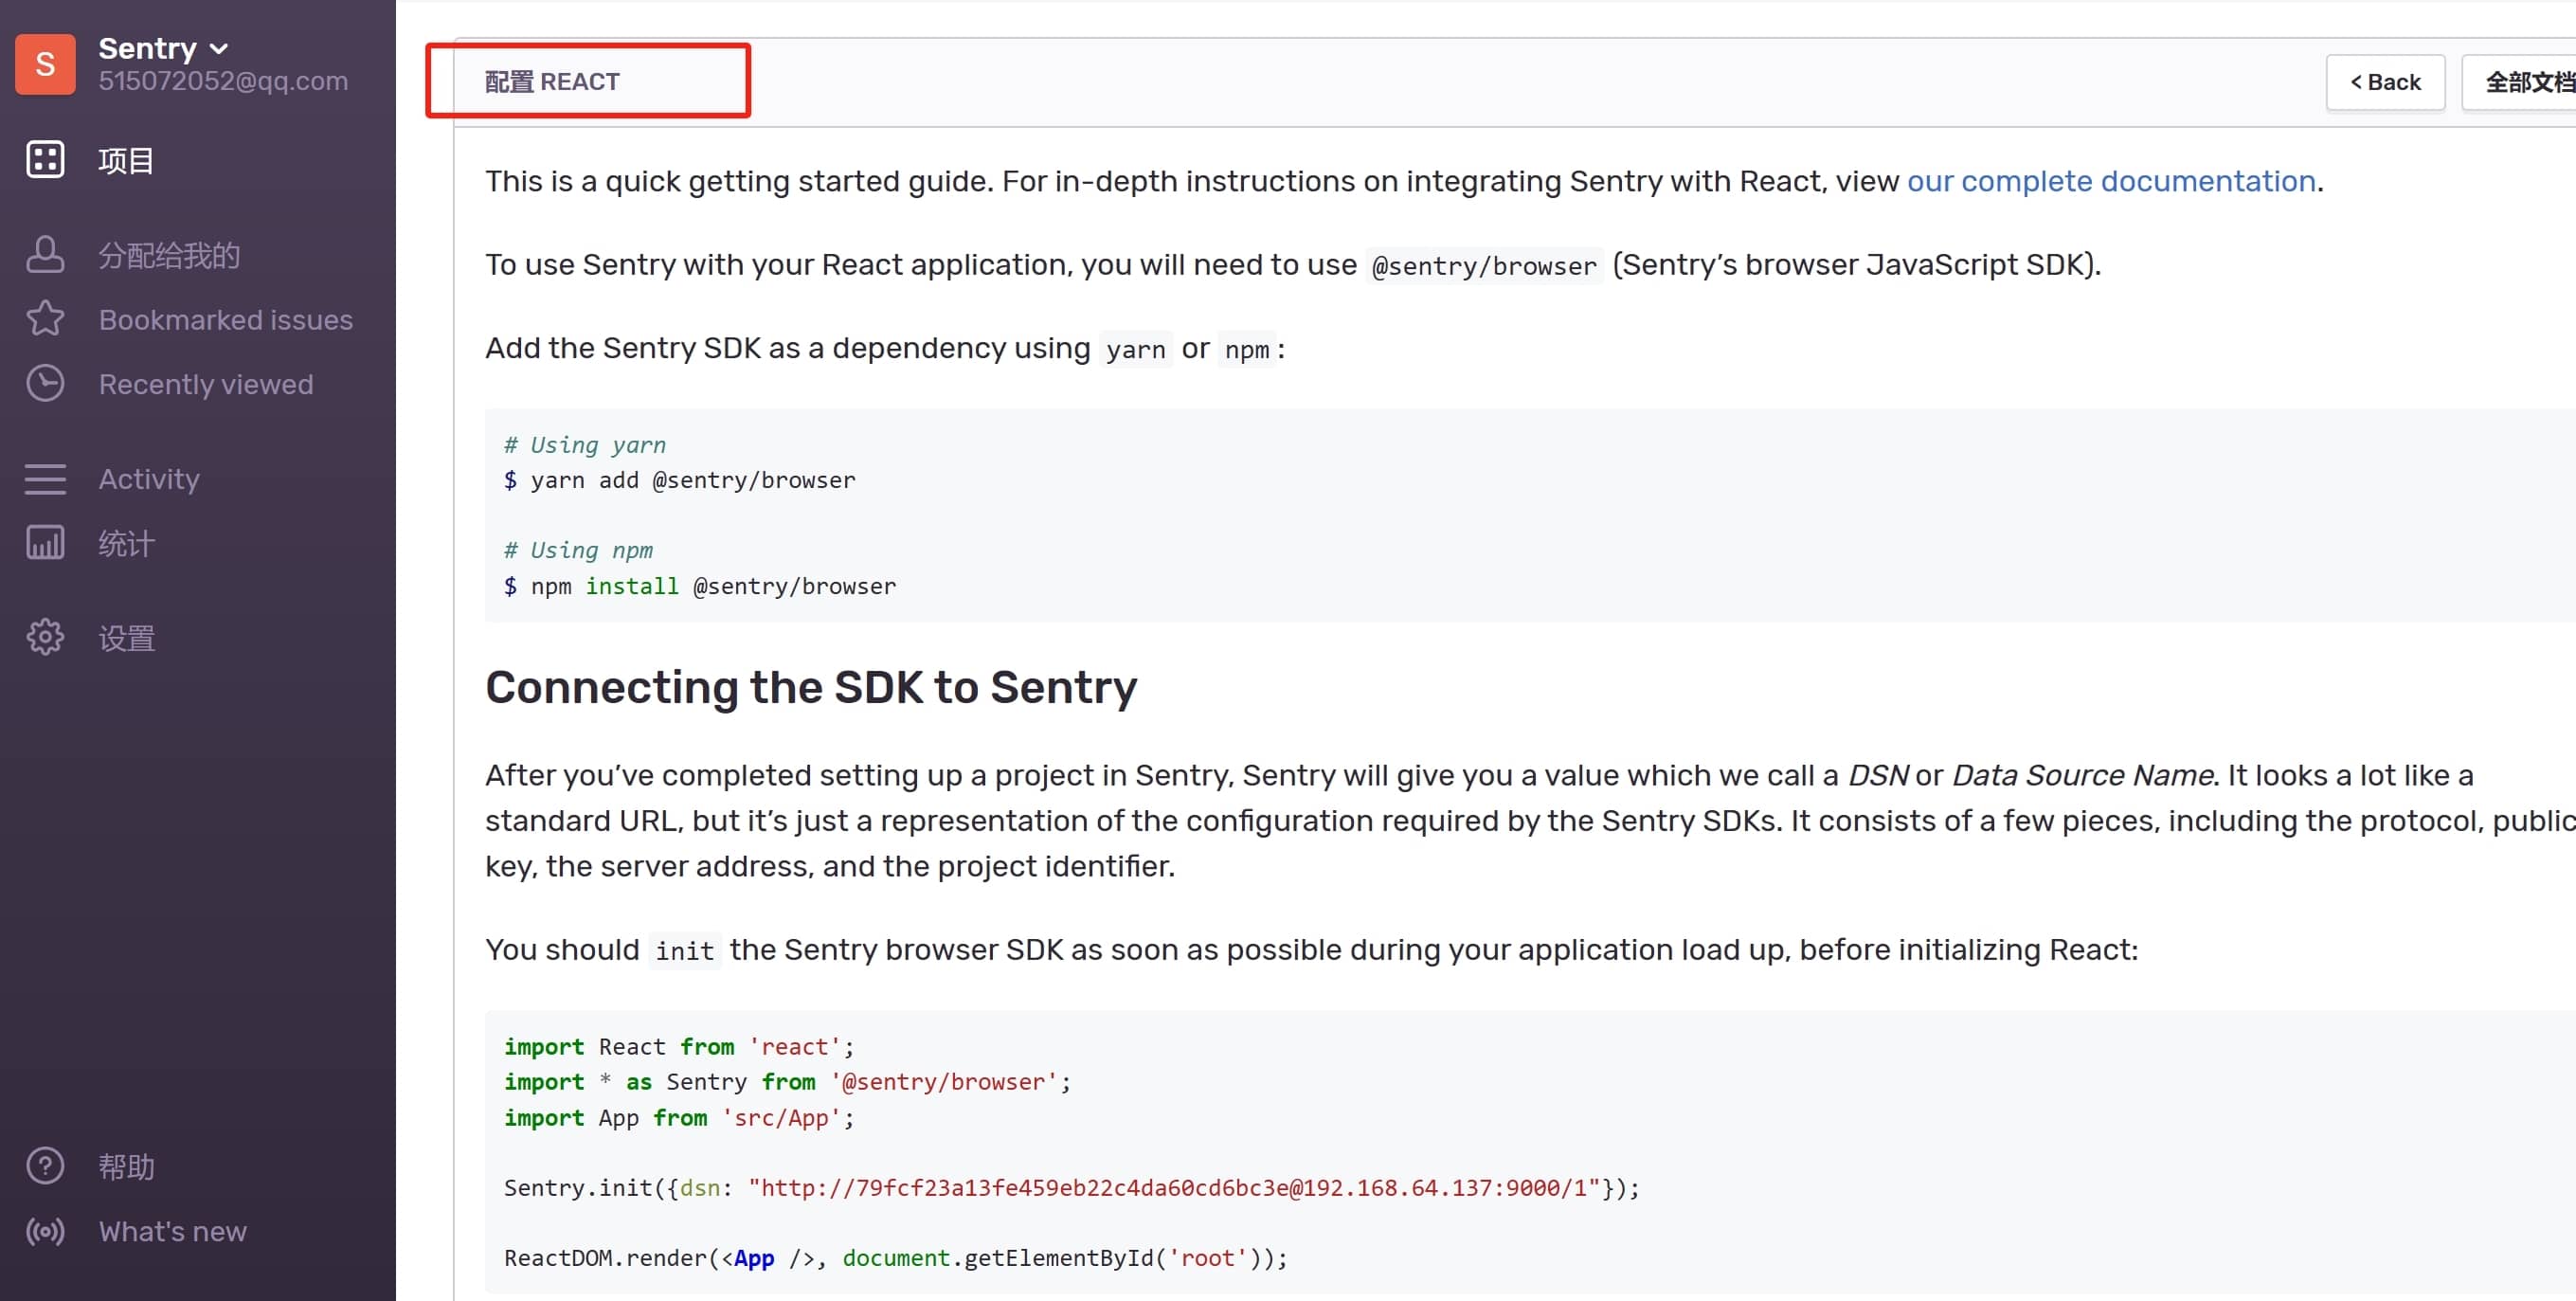 Vue项目
Vue项目
import { createApp } from 'vue'
import App from './App.vue'
import * as Sentry from '@sentry/browser';  // 针对的是 js
# 要求sentry版本 20.6.0以上版本
https://docs.sentry.io/platforms/javascript/guides/vue/
// import * as Sentry from '@sentry/vue';  // 针对的是 vue

const app = createApp(App)
# https://getsentry.github.io/sentry-javascript/modules/_sentry_vue.html
Sentry.init({
  app,
  timeout: 4000,// 默认 2S
  dsn: 'http://ac27fc48d5fc4e53b840cd566b51e487@8.134.73.17:9000/2',
  initialScope: scope => {
   # 手动设置一些信息
   # 参考文档:https://docs.sentry.io/platforms/javascript/enriching-events/
   const userName = localStorage.getItem('userName')
   const token = localStorage.getItem('token')
   scope.setUser({
     username: userName,
   })
   scope.setContext('登录信息', {
     token: token,
   })
   return scope
  },
  // integrations: [
  //   new Sentry.BrowserTracing({
  //     routingInstrumentation: Sentry.vueRouterInstrumentation(router),
  //     tracingOrigins: ["localhost", "my-site-url.com", /^\//],
  //   }),
  //   // new Sentry.Replay(),
  // ],
  # 设置捕获异常1 就是100%
  tracesSampleRate: 1.0,
  // Capture Replay for 10% of all sessions,
  // plus for 100% of sessions with an error
  // replaysSessionSampleRate: 0.1,
  // replaysOnErrorSampleRate: 1.0,
});

app.config.errorHandler = err => {
  Sentry.captureException(err)
}
window.addEventListener('error', event => {
  Sentry.captureException(event)
})
window.addEventListener('unhandledrejection', event => {
  Sentry.captureException(event)
})
返回用户信息
Sentry.setUser({
  id: "dfar12e31", // userId cookie.get('userId')
  email: "test@qq.com", // cookie.get('email')
  username: "poetry", // cookie.get('username')
});
Vue.prototype.$Sentry = Sentry;